Saturday, September 21, 2019

Talk Like A Pirate and Rock Your School

September 19th, was Talk Like A Pirate Day and Rock Your School!  When my students came to school today, they found Mrs. Wanke dressed like a pirate and a treasure chest locked up!  The treasure box had three kinds of locks securing it.  One was a number code, another was a litter code, and the last one was a key lock.  We wanted to know what we had to do to see what was inside the treasure box. 
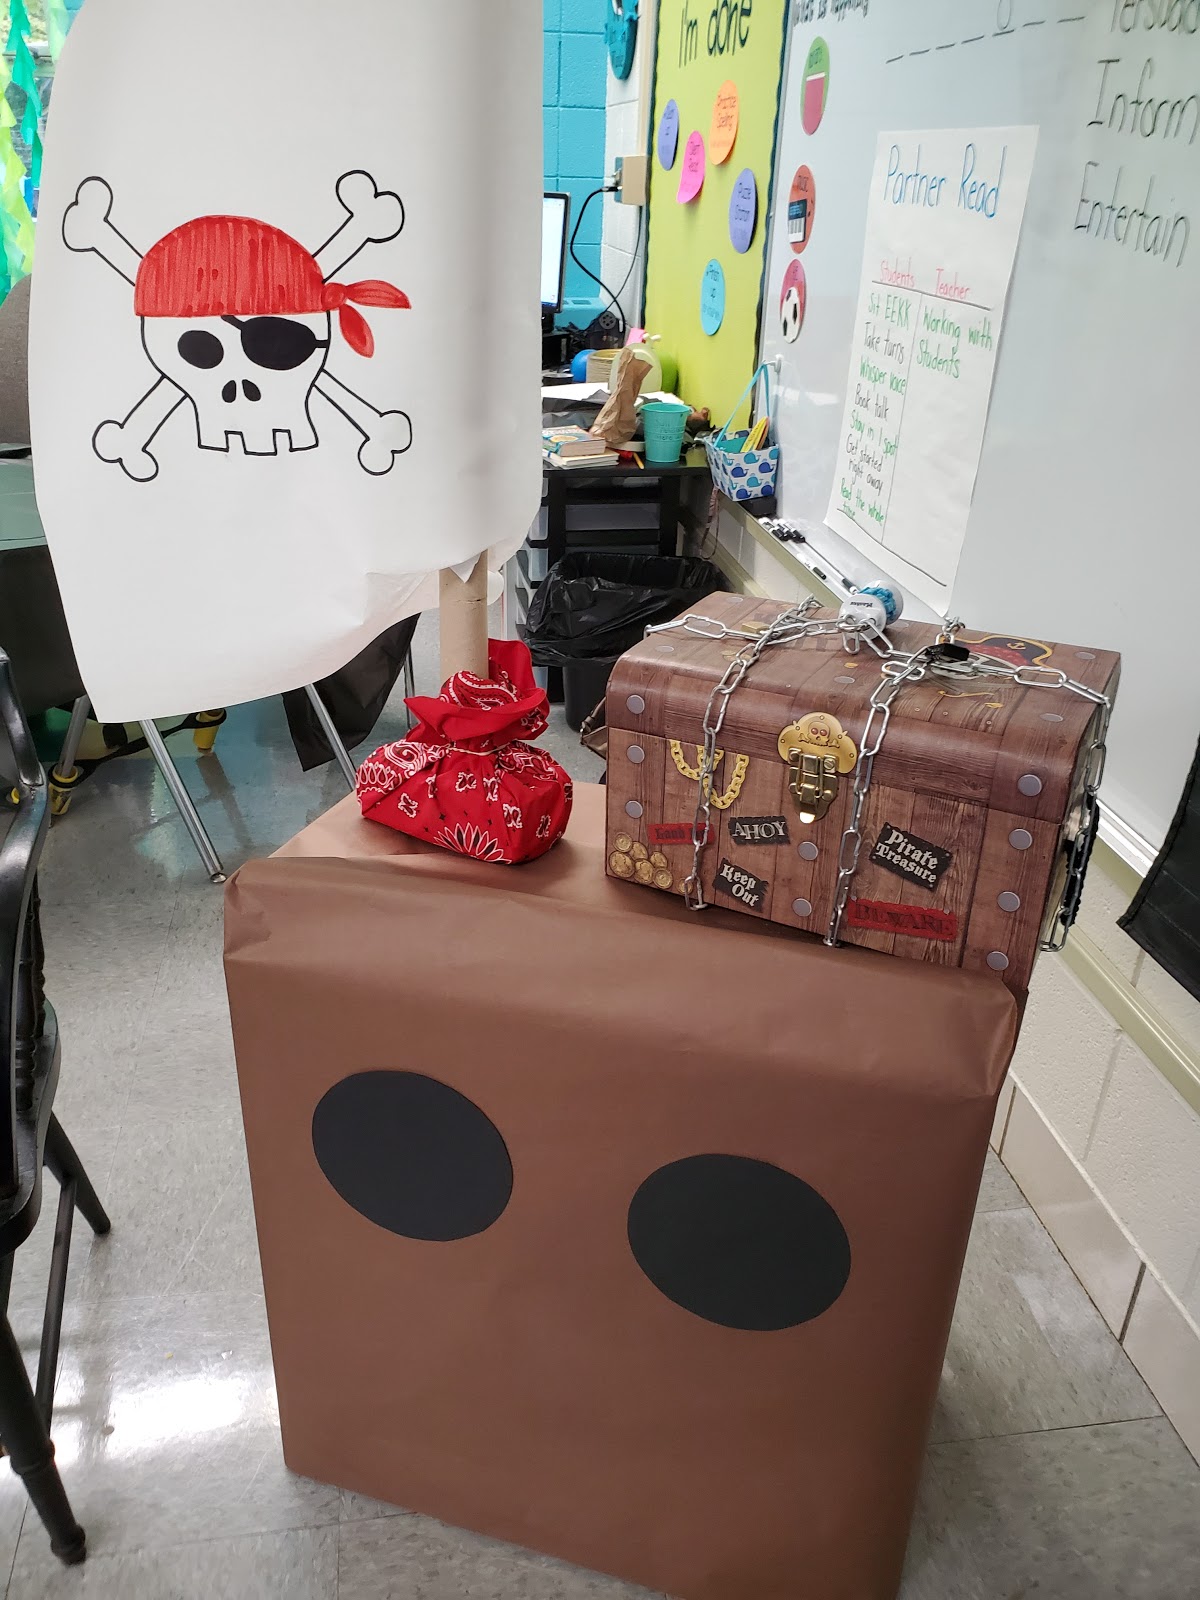


I explained that they would have to do a series of challenges to learn the codes and earn the key!  They were SO ready and motivated to complete these tasks!

Share with consent from parents.

Share with consent from parents.


First we listened to a couple of stories to set the tone for the day and to grow our scheme of pirates. 


I explained our for our first challenge we were going to create our very own buried treasure map.  We had to follow specific directions to create this map.  (This fit nicely since we have been working on following directions and working on maps with our story from last week.)


These are the directions that students had to follow.  I printed them on the back of the map so parents could see the activity, but I read them aloud to my students. 


Sharing with consent from parents. 


After this challenge we earned a the letter K.  There would be two more challenges to earn the letters E and Y to spell the word KEY. Once they spelled the word KEY, they would get the key to open the lock. 

Our next challenge was a STEM challenge. Students had to work with our partner to create a pirate ship that could actually float and sail across our ocean (kid pool)  carrying 3 pennies.  


They were only given certain materials.  Aluminum foil, 3 strips of masking tape, a small ball of clay, a coffee filter, and a straw.  


I was so proud, they worked really hard and cooperatively with their partners. They developed a plan and worked together to problem solve when things did not go as planned.  

Sharing with consent from parents. 

Sharing with consent from parents. 

We had SO much fun creating these and watching them sail across the ocean.  My students would jump and hug their partners when their ships sailed across! 


Here is just a video of one of our ships sailing across the ocean!


After completing this challenge, they earned the letter E!  

After lunch we came back and were ready to get that treasure box unlocked!  We had several activities to do during math!  The first one was to create, as a team, a giant 100's chart with gold coins! 

Sharing with consent from parents. 


Sharing with consent from parents. 

Sharing with consent from parents. 

This was a VERY difficult challenge!  They worked so hard and persevered!  Students erupted into cheers when we got our last letter Y!  We finally got one of the locks open!

The next math challenge was to find the missing number in the number bonds. Each correct answer gave students a letter for the code below.  The secret code spelled out the three number for the combination lock.  
  

Once again, I was SO impressed with how hard we worked to complete this challenge. 

Sharing with consent from parents. 

All this hard work paid off and students learned the combination and opened our second lock!

The final challenge of the day had to deal with our spelling! I gave students a sheet of paper to write words that had the spelling pattern we have been working on. On this page four spaces were circled.  If we successfully spelled the words, the circled spaces would reveal the letter combination for our final lock!  


Well...guess what?  WE DID IT!  We got the final lock opened.  Students could barely contain themselves when I opened the treasure box.  Inside was GOLD OREO cookies!

Painted with Wilton Gold Color Mist
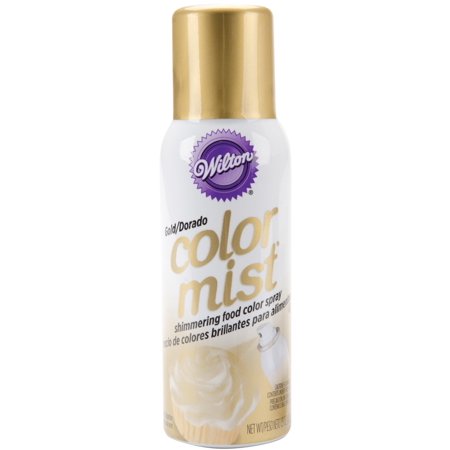
You can get it at Walmart, Amazon, or Party City.  Walmart had the best price!


Friday, February 22, 2019

Shell Advetures

I just got back from GYTO in Orlando.  We live in a small rural community 2 hours north of Chicago. So a warm weather getaway is just what my teach heart needed.  I attended with a great group of teacher that I am blessed to work with every day.  We decided to leave early and drive to St. Petersberg.  We spent a day on the beach.   

While walking on the beach one day, we saw SO many shells. We decided to collect shells to bring back for our students.  When I returned, I told my students that I  brought something back for each of them.  I had them play 20 questions to infer what I had brought back.  The students had some really good questions and they used the information they gained from my answers to drive their next questions.  By the end of the game, they figured out that I brought back shells. 

Next, I had my students buddy up and write adjectives that described their shells. 

While I was at the beach I also saw these adorable tiny shell creatures that would bury themselves into the sand after the waves would wash it away.  This reminded me of the Disney short film titled, Piper.  This is an adorable film of a little bird tries to get shells that bury themselves in the sand.   I showed this short video to my students then showed them my real life video.  We talked about how movie makers and writers use real life experiences to get ideas.  


Lastly, I showed my students a shell I found that had been broken.  We talked about what could have happened to this shell.  We visualized it what it might have looked like before it was broken.  I had my students write about the adventures the shell had been on to become broken and washed up on the beach.  Click the picture below for you FREE copy of this fun writing activity. 


Tuesday, December 4, 2018

Christmas Tree S.T.E.M

Every December I dread...I mean D-R-E-A-D putting up my classroom Christmas tree.  I hate sorting the branches, attaching them to the pole, fluffing, etc, etc, etc!  

Image result for Grinch clipart
Now, before you call me the Grinch, I LOVE Christmas time!  I love decorating my house and my REAL tree. I love sitting next to the tree with only the Christmas tree lights on.

Last year as I was dragging my Christmas decor and tree out of storage, it hit me!  I am  not going to put the tree up this year, my students will as a S.T.E.M  challenge!

Image result for brilliant clipart

This week I started math time by throwing all the parts to the Christmas tree down on the floor.  (Yes very dramatic like!)  I had students visualize the shape of the Christmas tree.  And share with them their challenge.  


Groups rotated to this as a station during our Guided Math time.   It took them a bit to figure it out and at times our tree looked a little funny! 
However, at the end of Guided Math, the tree only had 2 miss places branches. 


This activity taught my students...
1. The importance of  developing a plan first
2. How to listen to every one's ideas
3. How to effectively communicate our ideas
4. We shouldn't all do our own thing.
5. How to work as a team.

I will NEVER put together another class Christmas tree again!  The learning benefits are amazing and as an added bonus, I don't have to put the tree together!  Now, how do I make beginning of the year classroom set up a S.T.E.M activity?


Image result for thinking clipart


Saturday, September 22, 2018

Frest Start to a GREAT year!

I started this blog several years ago when I uploaded my first products to TPT.  When life got busy as my daughter got older, I began blogging less and less.  Two years ago my family went through one of our darkest times and blogging was non-existent.  At 12 weeks into my second pregnancy we were given devastating news.  Our child had Trisomy 18 and was not expected to make it past the second trimester.  We trusted God's plan for us and continued through pregnancy knowing our son would not survive.  At 33 weeks he passed and we had a stillbirth.  The next two years our marriage was rocky at best.  I was depressed and didn't realize it.  My husband had developed panic attacks and was suffering from anxiety, which led to self medicating with alcohol.  Fast forward now... we are happier and healthier than ever!  GOD is so good!  One of these days I will blog all about that time in our life as I do think now part of my purpose in life is to share God's faithfulness during the darkest of times. 


However, today I am SO happy to be back to the blogging world and to share all things school with you guys!  I love to share and to get inspired from ALL the amazing teachers out there.


2018-2019 Classroom Tour


Several years ago I transitioned my classroom over to a flexible seating classroom after being inspired my some great teachers in my school. I will NEVER go back!

When my students ever the classroom, they choose each day where they sit. I love giving them choice and control over their learning. 

You will notice LOTS of blank space.  I believe in adding to my walls with my students throughout the year. This way they are more likely to use the resources that we hang up. 


I do not have a traditional desk either.  My husband built me this L shaped top to sit on top my two plastic drawer towers.  This is where I keep my computer.  Then, I work at the horse shoe table with my kiddos.  I don't know about you, but I NEVER had time to work at my desk.  It just became a spot to pile up stuff.

Below the "Your Mindset is Everything" we put up all the quotes we learn for Growth Mindset.


Friday, May 4, 2018

Construction Day


Our room and teacher were briefly transformed for the day! 
We have been really struggling to understand nouns, verbs, and adjectives.  Something we need to have solid for second grade.  So today, we were second graders under construction.

One of my student's dad works for a construction company and let us borrow some supplies to transform our room. 


To start the lesson off, I pulled out my "tools."  Students had to name the tool that I held up. That was our noun.  Then, students had to list things that the tool could do. These were our verbs.  Lastly, students had to describe the tool.  These were our adjectives.  We did this activity whole group for three different tools. (saw, tape measure, and a hammer)

Next, I had giant bricks with either nouns, verbs, or adjectives written on them.  Together as a class we sorted these brinks and build 3 different walls.  A noun wall, a verb wall, and and adjective wall. 


Next, it was time for our centers.

At the first center students had to color code their blue prints. I printed these on larger paper and rolled them for a more authentic look. ;)  Students had to color code the nouns, verbs, and adjectives in the sentences. 


At the second center, students had a pile of real rocks with words written on them.  They had to sort the rocks next to the correct construction vehicle. (Noun, Verb, or Adjective. Sensing a theme here?) Of course we had to wear our helmets!


The last center students had to BUILD sentences with nouns, verbs, and adjectives. I wrote nouns, verbs, and adjectives on large Duplo blocks.  I also color coded the nouns, verbs, and adjectives to make it easier to sentence building. 
Students had to pick one of each. Then, they would place the words on the floor and write the sentence directly on the floor with a Vis-a-Vis marker.  We call this floor graffiti. Students love it!  I had students wear safety vests at this center. 


My students had a blast during our construction day!  Most importantly they were engaged and the learning was tied to a memory. I am confident now that my students have a good grasp of nouns, verbs, and adjectives. Bring on second grade.